>>

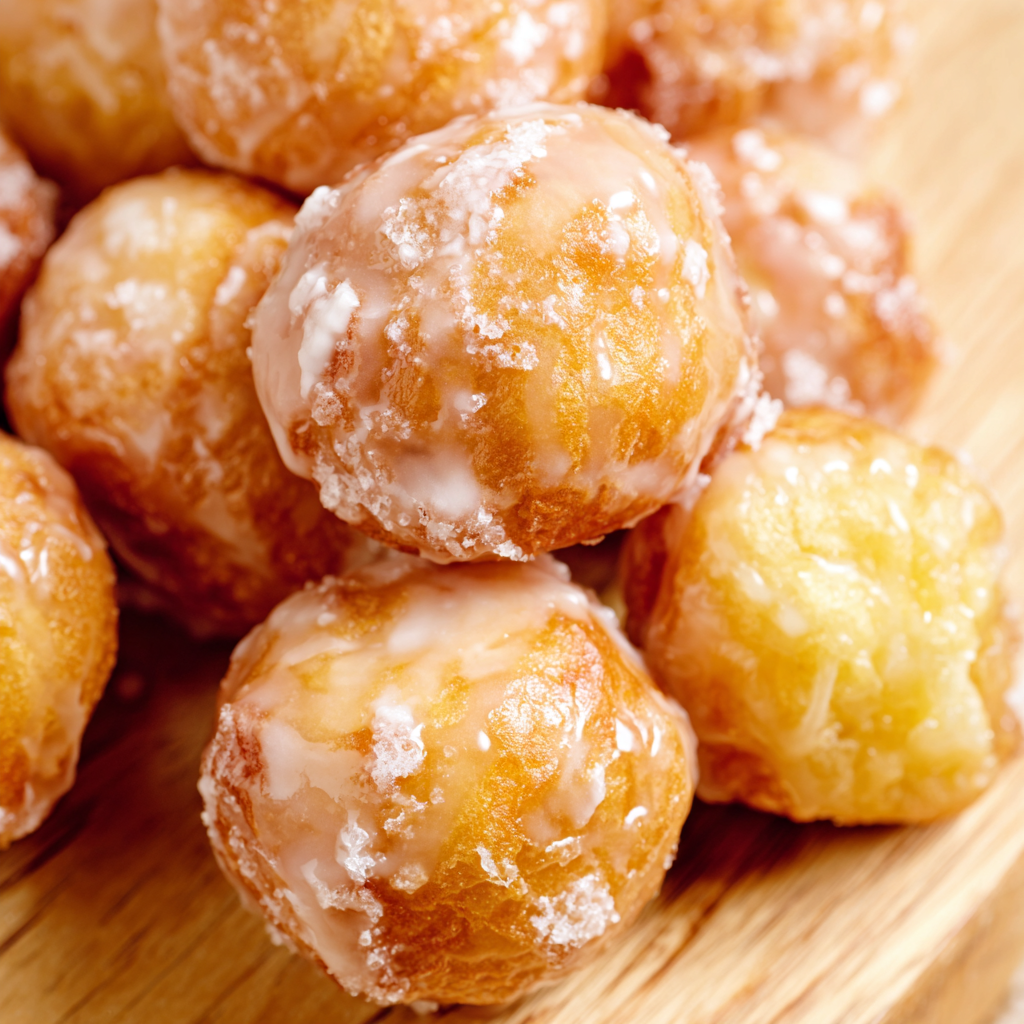
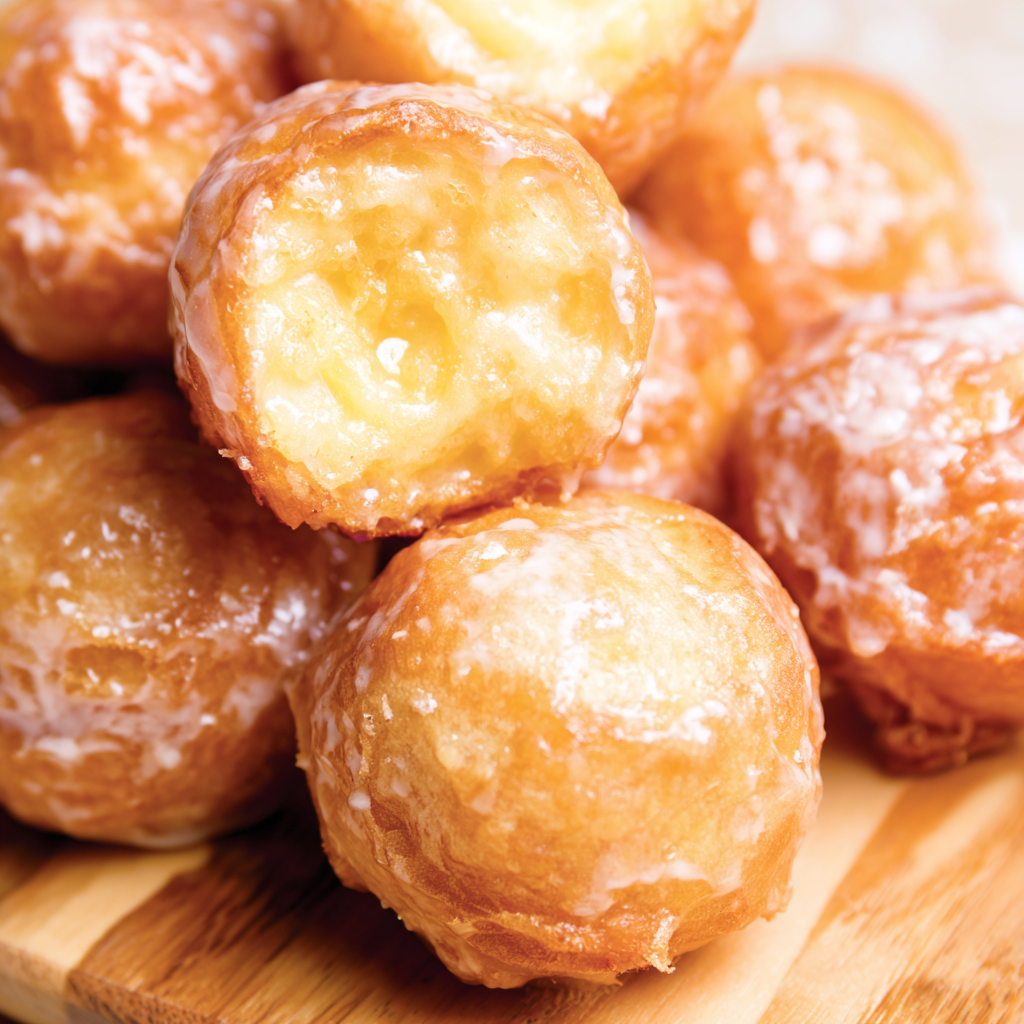
Fluffy, golden donut holes made from canned biscuit dough, deep-fried and dipped in a simple vanilla glaze — ready in 30 minutes for a crowd-pleasing breakfast treat.

This recipe for Easy Donut Holes is one of those late-morning discoveries that became a weekend ritual in my house. I first made these on a sleepy Sunday when guests were arriving and I had only a can of biscuits in the pantry. A short time later the kitchen smelled like a bakery and everyone was passing plates around before coffee was even finished. They are light in the middle, with a thin crisp shell, and the glaze makes each bite irresistibly sweet without being cloying. Because the base is canned biscuit dough, these come together fast — in about 30 minutes — and are perfect when you want something warm and homemade without fuss.
I love this version because it is forgiving and flexible. You can finish the holes in a vanilla glaze, toss them in cinnamon sugar, or leave them plain for dunking into jam. The texture is tender and slightly pillowy, the exterior a warm golden color, and they stay pleasantly soft for a day if stored correctly. This is the kind of weekend recipe that fills the house with noise and laughter as people nibble and trade their favorite toppings. It’s also a reliable choice for brunches, bake sales, or when kids ask for something special.
I’ve served these on lazy holidays and rainy mornings; they disappear quickly. My family’s favorite memory is a sleepy New Year’s morning when we served these with bowls of fresh berries and coffee — the smell alone woke everyone up with smiles. When I first glazed them, a neighbor leaned over the counter and said, "These taste like childhood," and that sealed it for me.
My favorite aspect is the speed: I made these for a last-minute book club, and everyone assumed they had been carefully planned. They pair beautifully with espresso or milky coffee. Watching people dip into warm glaze is always the best part — it becomes a small, joyful moment around the table.
Store cooled donut holes in an airtight container at room temperature for up to 24 hours to preserve the best texture. If you need to keep them longer, refrigerate in a single layer or loosely covered container for up to 3 days; glazing will soften slightly in the fridge. For freezing, first cool completely, then freeze on a baking sheet until firm and transfer to a resealable freezer bag, squeezing out excess air. Reheat frozen holes in a preheated 325 degrees F oven for 8 to 10 minutes or until warmed through; this helps refresh the exterior without drying the center.
If you want a lighter glaze, replace whole milk with water or a plant-based milk like almond milk; flavor intensity will be milder. For a richer coating, swap half of the powdered sugar for sifted confectioners’ sugar and add a teaspoon of melted butter. If you prefer not to deep-fry, try baking at 375 degrees F for 10 to 12 minutes, turning halfway; the texture will be more cake-like and less crisp. Use gluten-free biscuit dough if you need a gluten-free option, though texture will vary slightly.
Serve these warm on a platter with small bowls of extra glaze, fruit preserves, and a cinnamon-sugar mixture for a DIY topping station. They pair exceptionally well with strong coffee, hot chocolate, or a creamy latte. For a brunch spread, add fresh berries, yogurt, and a charcuterie board to balance the sweetness. Garnish with a light dusting of powdered sugar or a sprinkle of flaky sea salt for an elevated touch.
Donut holes are an American classic inspired by full-sized fried rings but transformed into bite-sized treats for easy sharing. Using canned biscuit dough is a modern shortcut that captures the spirit of handmade fried dough sold at fairs and bakeries across the United States. Bite-sized fried pastries have counterparts around the world — from beignets in Louisiana to loukoumades in Greece — but these quick biscuit-based holes are a particularly American convenience-cooking adaptation.
In autumn, toss freshly fried holes in pumpkin spice sugar or add a pinch of ground nutmeg to the glaze. For winter holidays, stir a teaspoon of orange zest into the glaze for a bright citrus note. Summer calls for lighter toppings like lemon glaze or a drizzle of berry compote. You can even stuff a few with jam post-fry by piping preserves into the center for a filled variation that feels extra special for celebrations.
To streamline brunch prep, fry donut holes the night before and freeze them on a sheet pan. The morning of, reheat in a moderate oven to crisp up, then quickly dip in warm glaze. If you are feeding a crowd, set up an assembly line for rolling, frying, and glazing with one person handling oil safety and another managing toppings to keep things efficient and safe. Use a reliable thermometer and never leave hot oil unattended.
These donut holes are a simple way to make mornings feel festive. They are approachable for cooks of any level and full of warm, nostalgic flavor — a small luxury you can make on a weekday or share at a party. Give them a try and make the recipe your own with favorite spices and toppings.
Maintain oil at 350°F for even browning and to prevent oil absorption.
Work in small batches to keep a consistent oil temperature and avoid overcrowding.
Glaze while donut holes are warm but not piping hot so the glaze adheres without running off.
Flash-freeze fried holes on a sheet before bagging to prevent sticking in the freezer.
This nourishing easy donut holes recipe is sure to be a staple in your kitchen. Enjoy every moist, high protein slice — it is perfect for breakfast or as a wholesome snack any time.
Store cooled donut holes in an airtight container at room temperature up to 24 hours, refrigerate up to 3 days, or freeze up to 2 months after flash-freezing on a sheet.
If donuts are oily, the oil was likely not hot enough. Aim for 350°F and test one donut first to adjust timing and temperature.
Yes. Bake at 375°F for about 10 to 12 minutes, turning once. The texture will be more cake-like and less crisp than frying.
This Easy Donut Holes recipe makes perfectly juicy, tender, and flavorful steak every time! Serve with potatoes and a side salad for an unforgettable dinner in under 30 minutes.
Pour 4 cups of vegetable oil into a heavy-bottomed pot to a depth of about 2 inches. Heat over medium-high until it reaches 350°F. Use a thermometer to monitor temperature and adjust the heat as needed to keep it steady.
Line a baking sheet with paper towels and place a wire rack over it. This traps excess oil and allows air circulation so the donut holes remain crisp. Keep the sheet near the stove for quick transfers.
Whisk together 1 1/2 cups powdered sugar, 2 teaspoons vanilla extract, and 3 tablespoons whole milk until smooth. Adjust with a teaspoon of milk or powdered sugar to reach a thick, pourable consistency.
Open the biscuit can and separate biscuits. Cut each biscuit into 6 pieces with kitchen scissors and roll each piece between your hands into a ball. Aim for consistent sizes so they cook evenly.
Carefully lower 6 to 8 dough balls into hot oil using a slotted spoon. Fry until evenly golden, about 2 to 3 minutes, turning as needed. Do not overcrowd the pot to avoid temperature drops.
Transfer fried pieces to the paper towel-lined sheet and let rest for a minute to drain. They should be warm but not too hot to handle for glazing. Use a wire rack for even cooling.
Using a fork or tongs, dip each warm donut hole into the glaze, rotating to coat. Lift and let excess drip off before placing on a wire rack to set. Serve warm for best texture.
For a topping variation, whisk 1/4 cup granulated sugar with 1 tablespoon cinnamon and toss warm holes in the mixture until coated. Serve immediately.
Cool completely before freezing. Arrange on a sheet pan and freeze until firm, then transfer to a resealable freezer bag and store up to 2 months. Reheat in a 325°F oven to refresh.
Last Step: Please leave a rating and comment letting us know how you liked this recipe! This helps our business to thrive and continue providing free, high-quality recipes for you.
Leave a comment & rating below or tag
@feastara on social media!
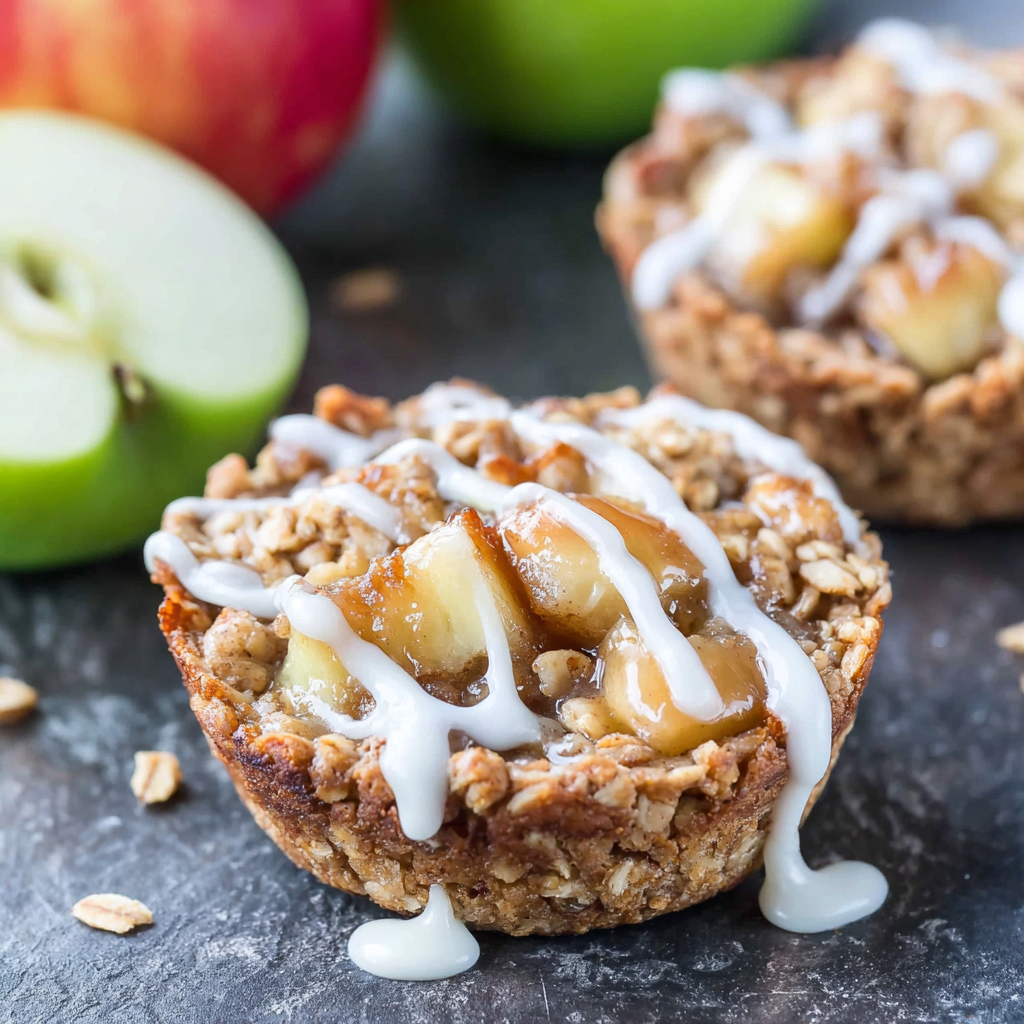
Buttery oatmeal cookie cups filled with warm, cinnamon-spiced apple pie filling and a sweet glaze for cozy, handheld comfort.
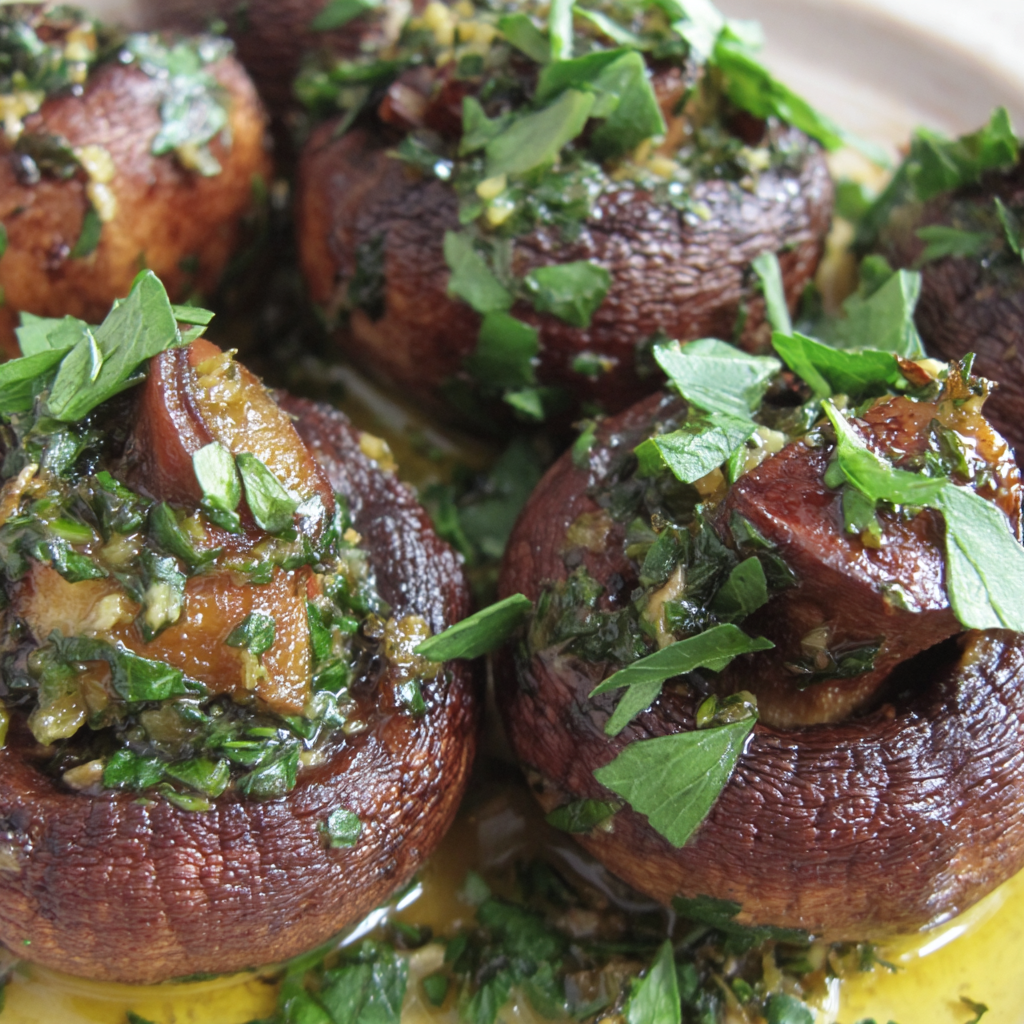
Tender mushroom caps filled with garlicky Provençal herbs, bright lemon, and olive oil. A cozy, elegant AIP-friendly appetizer ready in under an hour.
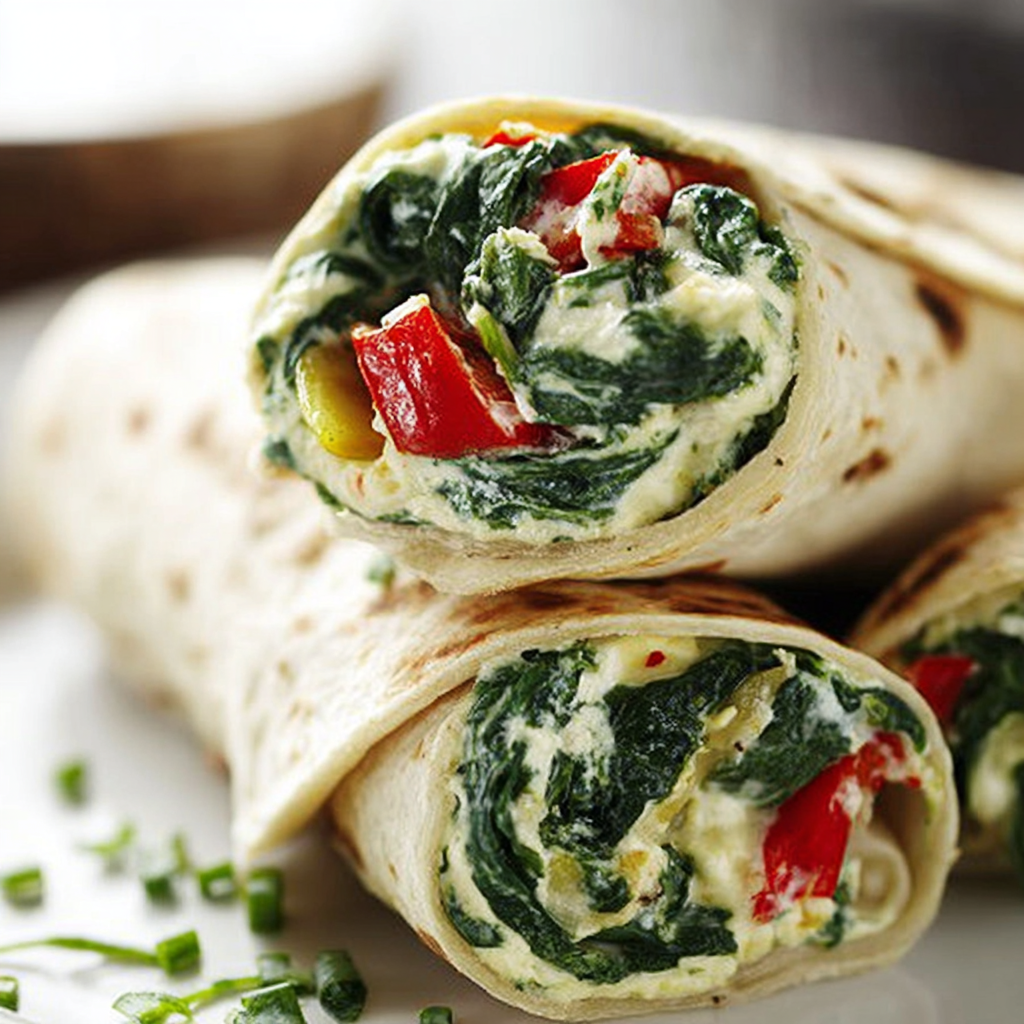
Creamy spinach, peppers, and tangy feta tucked in warm tortillas, baked golden for an easy make-ahead lunch or freezer-friendly snack.
Leave a comment & rating below or tag @feastara on social media!
Enjoyed this recipe? Share it with friends and family, and don't forget to leave a review!
This recipe looks amazing! Can't wait to try it.
Comments are stored locally in your browser. Server comments are displayed alongside your local comments.

Join to receive our email series which contains a round-up of some of our quick and easy family favorite recipes.