>>

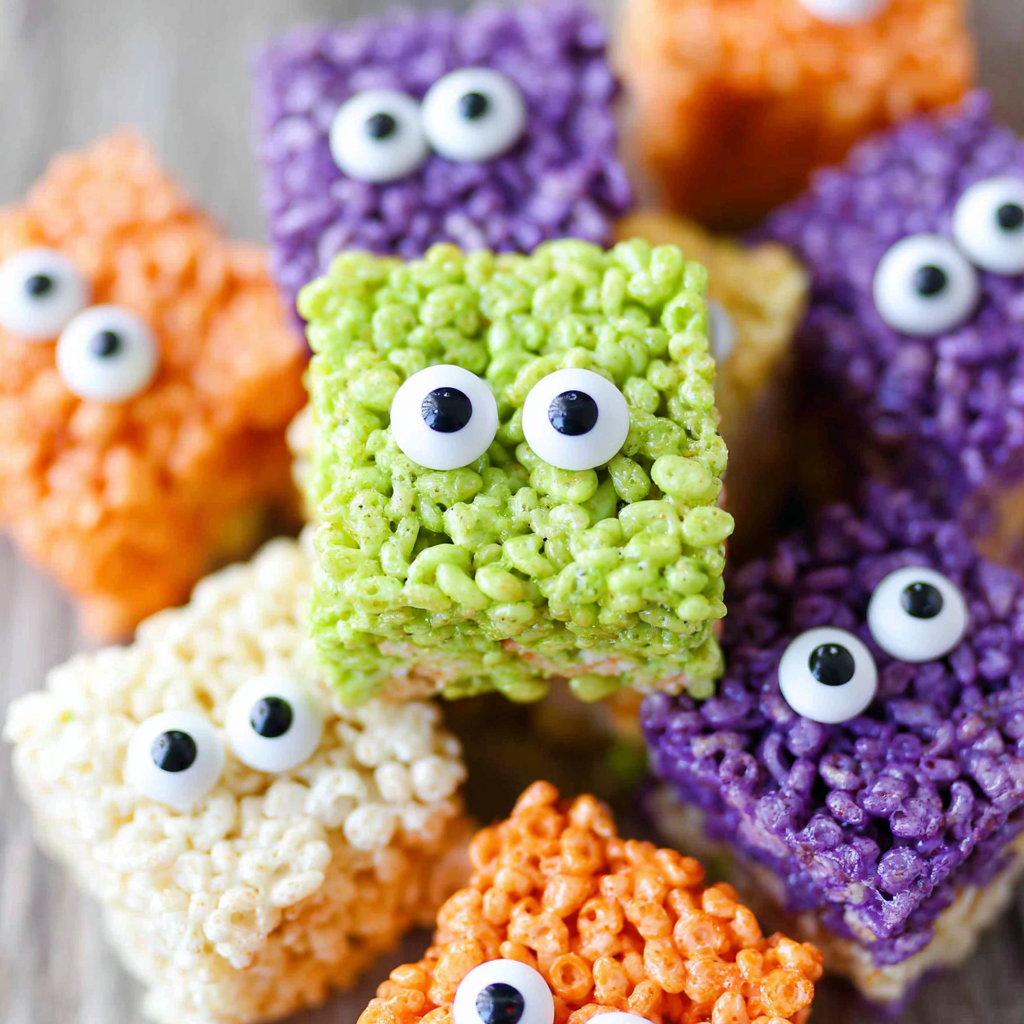
Cute, colorful Halloween Rice Krispie treats — easy to make with kids and decorated as monsters, mummies, and pumpkins. Ready in just 35 minutes!
This Halloween Rice Krispie treat is my go-to party snack when I want something nostalgic, playful, and utterly kid-friendly. I first tried this version years ago at a school bake sale where I realized the simple marshmallow-and-cereal base could be transformed into spooky characters with nothing more than food coloring and a few candy eyes. The result was a plate of little, chewy, crispy orbs that disappeared within minutes — everyone loved how festive they looked and how the texture stayed delightfully soft rather than rock-hard like some treats.
These treats are excellent for involving kids: shaping, coloring, and decorating become part of the fun. The marshmallow gives the center a pillowy chew while the cereal adds the crisp, toasted crunch that makes each bite satisfying. I often make a double batch for bigger gatherings and vary colors and decorations — orange pumpkins, pale mummy whites with licorice bandages, and neon monsters with multiple eyes. They’re quick, forgiving, and perfect for last-minute celebrations.
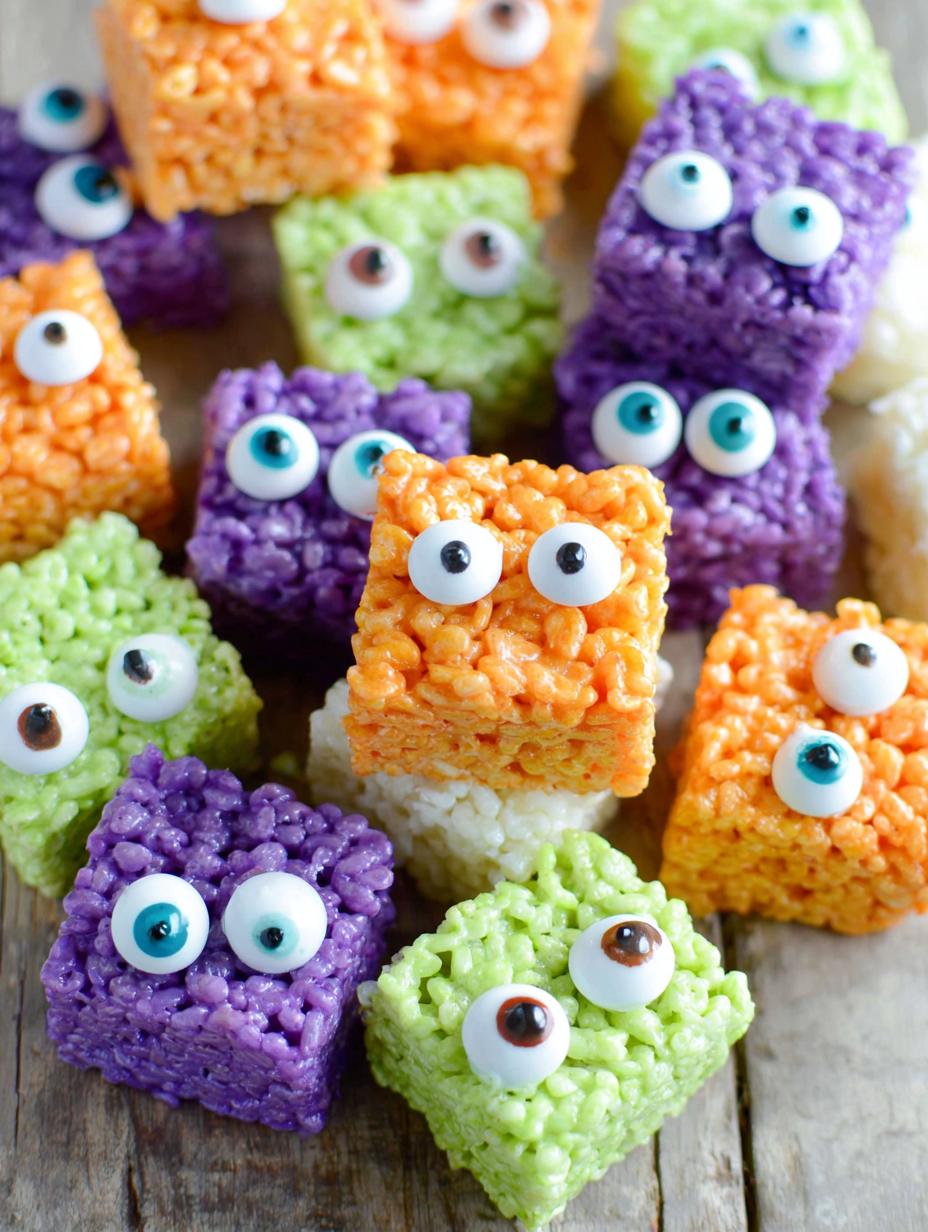
I first served these at our neighborhood Halloween potluck; the children were thrilled to press candy eyes into the warm balls, and the adults appreciated how the flavors hit the sweet nostalgia spot. My niece declared the purple monster her favorite, and my neighbor asked for the recipe on the spot — that’s how I know it’s a keeper.
My favorite part of this treat is how reliably it delights everyone from toddlers to grandparents. Once, I brought a tray to a community bake-off and the judges commented on the nostalgic chew and playful presentation — we won a ribbon and the recipe became a conversation starter. The ease of changing colors and add-ins means you can tailor the snacks to virtually any theme.
Store cooled treats in an airtight container at room temperature layered between sheets of parchment to prevent sticking. They’ll remain fresh for up to 3 days; beyond that they dry out and lose their chew. If you need to transport them, stack in a shallow box with parchment dividers to preserve shape. Do not refrigerate — cold temperatures make them tough and rubbery. For longer storage, you can freeze the shaped balls individually on a tray, then transfer to a freezer bag; thaw at room temperature and add eyes just before serving.
Substitute unsalted butter plus a pinch of salt if you prefer to control sodium. If you need a gelatin-free marshmallow (for vegetarian guests), seek out brands labeled vegetarian or use vegan marshmallows made with agar — note texture varies slightly and may be stickier. For a gluten-free option, choose certified gluten-free puffed rice cereal; taste and texture are largely the same. Swap candy eyes for chocolate chips or use royal icing for glued-on decorations if eyes are unavailable.
Serve these treats on a platter lined with themed napkins or cupcake liners for easy grabbing. Pair them with hot chocolate or an autumn punch for a seasonal spread. For a party dessert table, mix colors and characters for visual interest — clusters of orange pumpkins, green monsters, and white mummies create a playful display. Add small labels so guests know if treats contain nuts or additional mix-ins.
Rice- and marshmallow confections are rooted in North American home cooking traditions, where quick cereal-based snacks became popular during the mid-20th century. The simplicity of melting marshmallows with butter and tossing with puffed rice made this an accessible treat for busy households. Decorating these for Halloween is a modern twist that taps into the tradition of transforming familiar sweets into themed creations for holidays and community celebrations.
Switch colors to suit any holiday: pastels for spring, red and green for Christmas, or red and pink for Valentine’s Day. For Thanksgiving, create warm-toned mixes by adding a pinch of cinnamon to the melted marshmallow and decorating with autumn sprinkles. You can also fold in crushed graham crackers for a s’mores-inspired version or mini chocolate chips for a richer dessert feel.
Make the marshmallow base up to a day ahead and refrigerate in a sealed bowl; warm briefly in the microwave before folding in cereal. Shape the balls on the day of serving for best texture. If you plan to portion for lunches or party bags, place each treat in a small cellophane bag and tie with seasonal ribbon — they’re portable, mess-free, and instantly festive.
These little treats are a surefire way to bring smiles and a playful spirit to your Halloween table. Try different combinations and encourage kids to design their own characters — it’s a simple recipe that rewards creativity and brings people together.
Use gel food coloring for stronger hues with less liquid; add a drop at a time.
Butter or oil your hands before rolling to keep the mixture from sticking.
If the mixture cools and firms, warm it briefly in the microwave in 10-second bursts to soften.
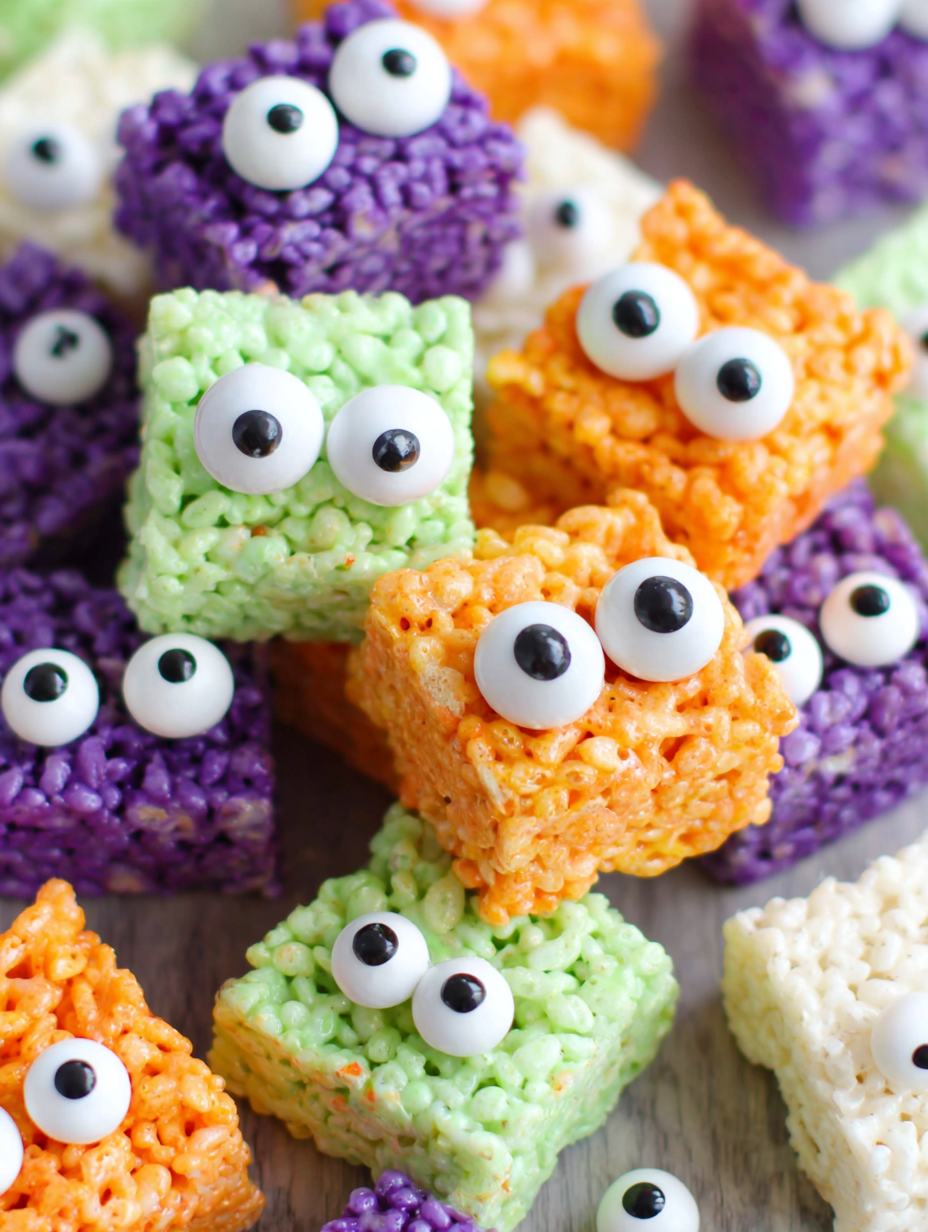
Press candy eyes into warm treats so they adhere securely.
For cleaner shapes, portion with a small cookie scoop before rolling.
This nourishing halloween rice krispie treats recipe is sure to be a staple in your kitchen. Enjoy every moist, high protein slice — it is perfect for breakfast or as a wholesome snack any time.
Line a baking sheet with parchment and butter your hands to prevent sticking.
Store at room temperature in an airtight container for up to 3 days.
This Halloween Rice Krispie Treats recipe makes perfectly juicy, tender, and flavorful steak every time! Serve with potatoes and a side salad for an unforgettable dinner in under 30 minutes.
Line a baking sheet with parchment paper and lightly butter your hands or spray with nonstick spray. Measure cereal and have food coloring and candy eyes at the ready.
Melt 4 tablespoons salted butter in a medium saucepan over medium-low heat until fully liquid but not browned.
Add 10 ounces mini marshmallows to the butter and stir continuously until mostly melted and smooth, about 2–3 minutes. Remove from heat when nearly fully combined.
If making multiple colors, divide the hot marshmallow mixture into separate bowls while still warm so each portion is workable.
Add a few drops of gel food coloring to each bowl and stir until evenly colored. Adjust color sparingly; it will deepen as it cools.
Fold 5–6 cups Rice Krispies cereal into the colored marshmallow until fully coated. Add more cereal if the mixture feels too wet.
With buttered hands, roll 1 1/2-inch balls (about 0.6 ounces each). Press a candy eye into the center while warm. For mummies, pipe melted white chocolate in bands.
Let treats cool on the parchment-lined sheet for at least 15 minutes until set. Store in an airtight container at room temperature for up to 3 days.
Last Step: Please leave a rating and comment letting us know how you liked this recipe! This helps our business to thrive and continue providing free, high-quality recipes for you.
Leave a comment & rating below or tag
@feastara on social media!
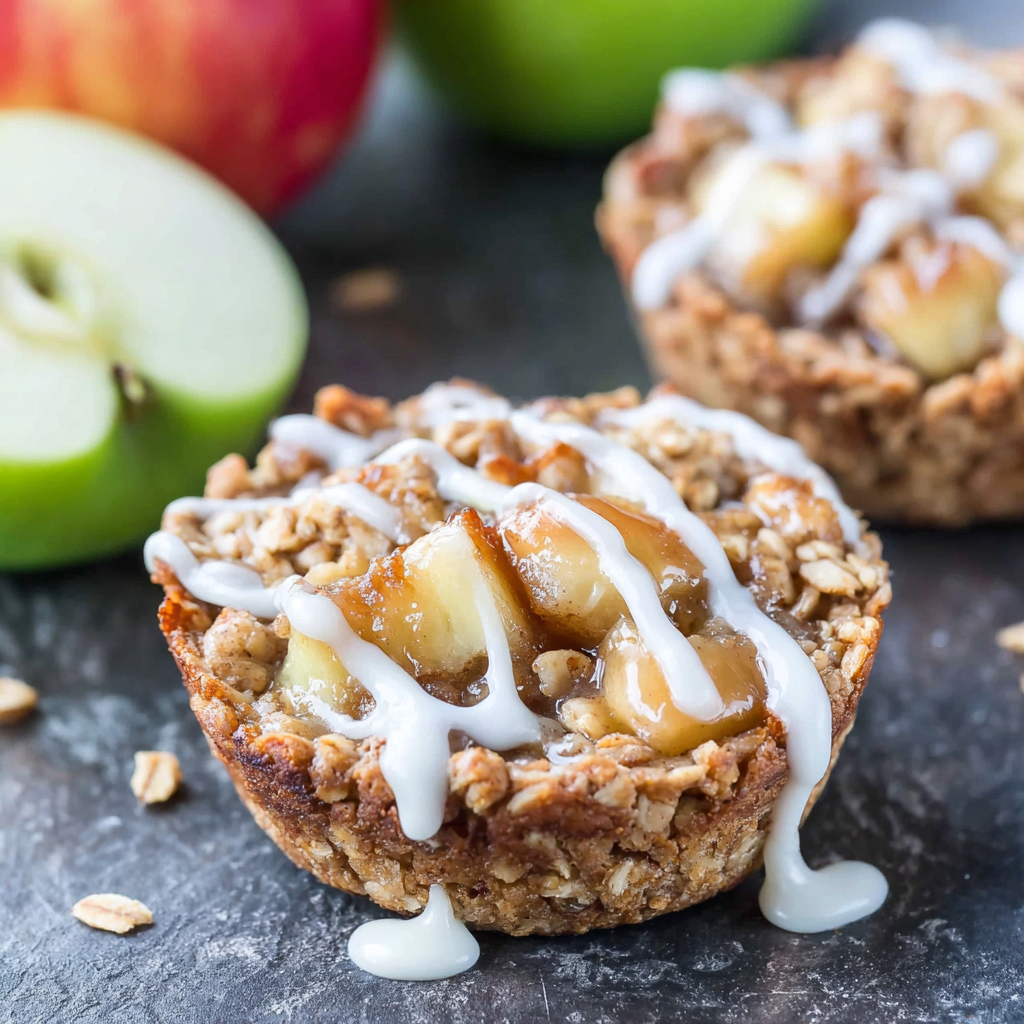
Buttery oatmeal cookie cups filled with warm, cinnamon-spiced apple pie filling and a sweet glaze for cozy, handheld comfort.
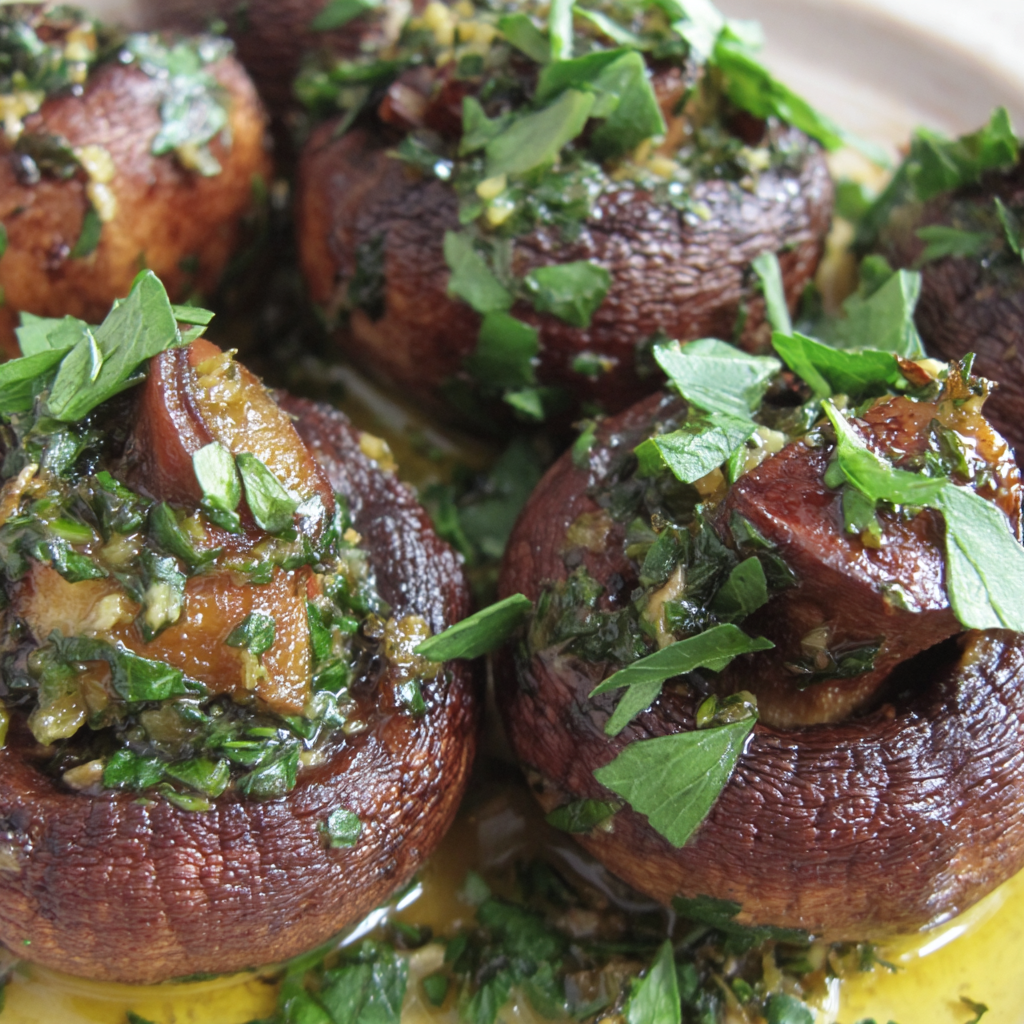
Tender mushroom caps filled with garlicky Provençal herbs, bright lemon, and olive oil. A cozy, elegant AIP-friendly appetizer ready in under an hour.

Creamy spinach, peppers, and tangy feta tucked in warm tortillas, baked golden for an easy make-ahead lunch or freezer-friendly snack.
Leave a comment & rating below or tag @feastara on social media!
Enjoyed this recipe? Share it with friends and family, and don't forget to leave a review!
This recipe looks amazing! Can't wait to try it.
Comments are stored locally in your browser. Server comments are displayed alongside your local comments.

Join to receive our email series which contains a round-up of some of our quick and easy family favorite recipes.