>>

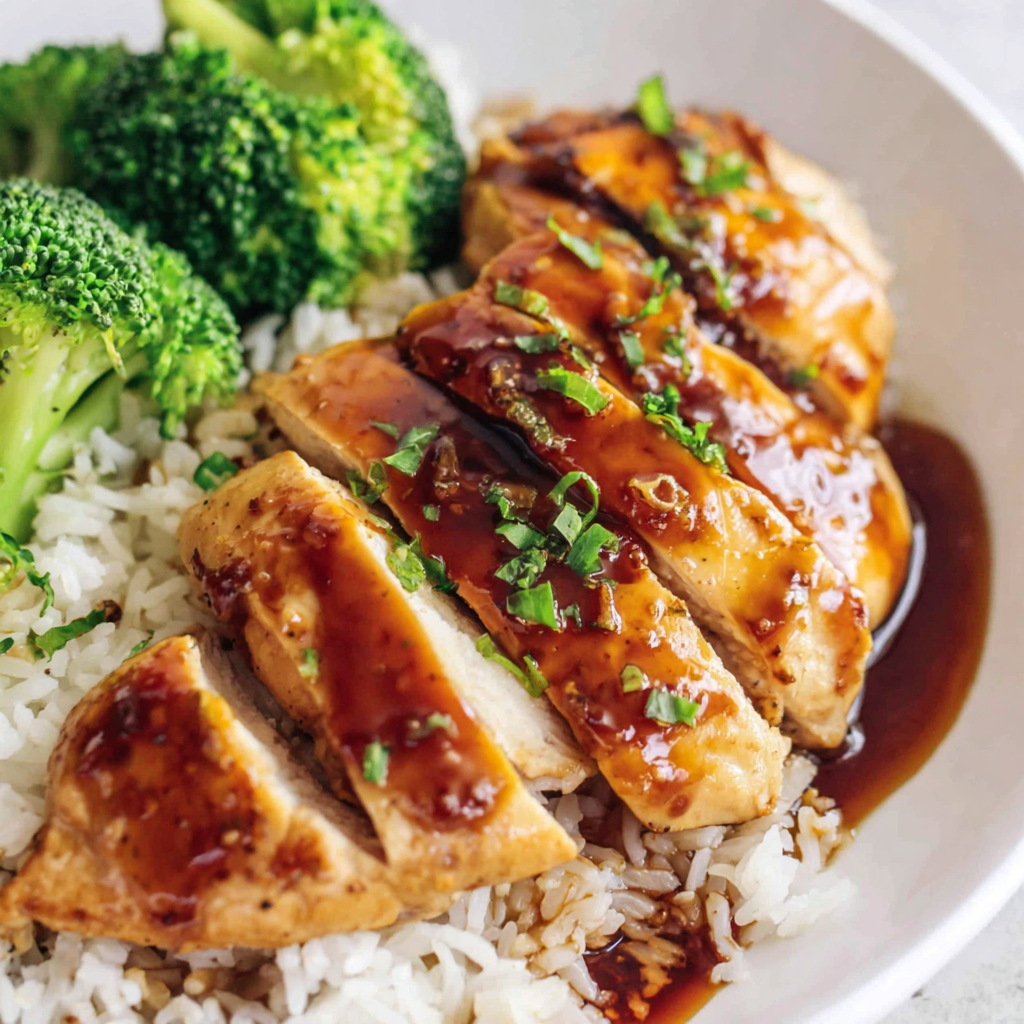
Tender Instant Pot chicken breasts glazed in a sweet-savory honey garlic sauce. Ready in 30 minutes and perfect with rice or quinoa for a quick weeknight dinner.

This Honey Garlic Instant Pot chicken breast recipe has been a weekday lifesaver in my kitchen for years. I first found this combination while testing quick weeknight meals for a busy month when my calendar was overflowing with after-school activities and evening meetings. The moment the pressure cooker released steam and I lifted the lid, the kitchen smelled like a restaurant, but the dish came together with pantry-friendly ingredients and very little hands-on time. The chicken emerges tender and juicy, the sauce balanced between sweet honey and savory soy with a garlicky lift that everyone at my table loves.
I like this version because it respects the simple chemistry of pressure cooking while delivering texture and flavor you might not expect from such an easy approach. The sauce reduces beautifully when you finish the pot on saute, coating the chicken in a glossy glaze. I usually double the sauce when serving over rice so there is plenty to spoon over grains and steamed vegetables. This is the kind of recipe that gets tucked into rotation: fast enough for a weeknight, flexible enough for guests, and reliable when you need dinner on the table with minimal fuss.
My family reaction has been consistent over the years. My partner always reaches for seconds, and the kids adore the sweet glaze. The first time I served this to friends I heard repeated requests for the recipe, and several people asked for tips on freezing portions for quick lunches. It truly lives up to being both comforting and convenient.
What I love most about this preparation is its consistency. Even on busy nights the Instant Pot reliably yields tender, juicy breasts while the sauce finishes the job. I have fond memories of serving this after a long road trip; the ease of reheating and the comfort of the glaze felt like home within minutes. Family and friends often comment on how the sauce tastes much more sophisticated than its handful of simple ingredients would suggest.
Store cooled portions in airtight containers in the refrigerator for up to four days. For freezing, place individual portions in heavy duty zip top bags and freeze flat for up to three months. When reheating from frozen, thaw overnight in the refrigerator or submerge the sealed bag in cool water until the sauce is pliable, then reheat gently on the stovetop or in the Instant Pot using the Steam function for a few minutes. Reheat covered to retain moisture and spoon extra sauce over grains when serving.
For a gluten-free swap use tamari or gluten-free coconut aminos in place of soy sauce. If you want a spicier profile add 1/8 to 1/4 teaspoon red pepper flakes or a splash of Sriracha to the sauce. To reduce sugar, halve the honey and add a tablespoon of rice vinegar for balance. For a thicker glaze without cornstarch, simmer for longer on Sauté but watch carefully to avoid burning.
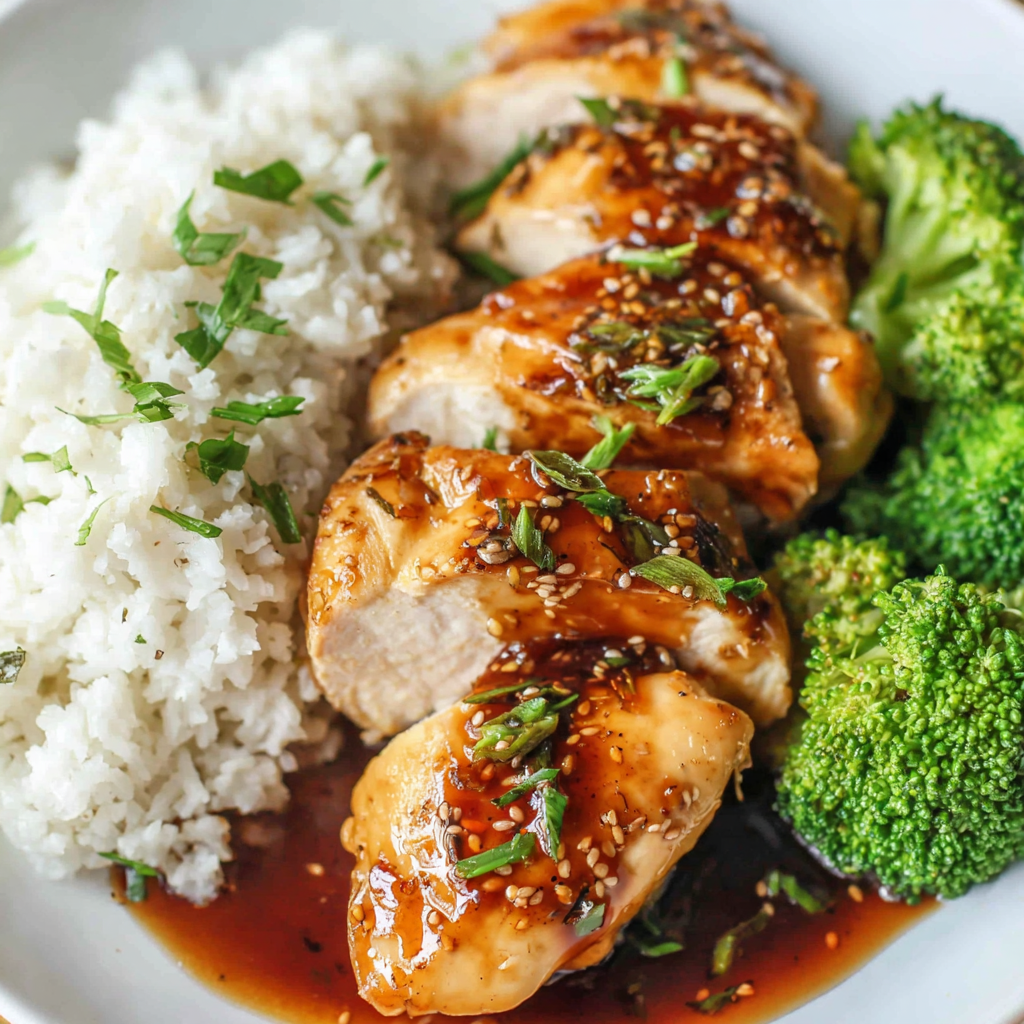
Serve sliced over steamed jasmine rice, brown rice, or fluffy quinoa. Add a side of roasted broccoli or sautéed snap peas for color and crunch. Garnish with thinly sliced green onions and toasted sesame seeds for a restaurant-style finish. For a lighter bowl, serve over a bed of mixed greens and warm the sauce to drizzle on top.
This style of honey garlic glaze borrows from East Asian pantry staples combined with Western sweetening. Soy sauce and garlic are foundational in many regional cuisines, while honey adds a familiar caramelized sweetness. The technique of pressure cooking modernizes the approach, offering a quick method to achieve textures similar to slow braising but in a fraction of the time.
In spring swap rice for a warm farro salad with spring peas and a squeeze of lemon to brighten the bowl. In winter, serve with roasted root vegetables and a drizzle of extra glaze for comfort. For summer meals, grill the cooked breasts briefly to add char before slicing, then toss with fresh cucumber salad for contrast.
Cook a double batch and portion into single-serve containers with rice and steamed vegetables for easy lunches. Freeze individual servings and thaw as needed. Keep a small container of extra sauce aside to refresh reheated portions so they do not dry out in the microwave. Label frozen packs with the date and thaw in the fridge overnight for best texture.
Final thought: this honey garlic Instant Pot preparation is one of those dependable, crowd-pleasing options that balances speed and flavor. Make it your own by adjusting sweetness, heat, or salt levels and enjoy how few ingredients can deliver a satisfying, polished dinner.
Always check internal temperature with an instant read thermometer; target 165°F for safety and optimal juiciness.
For even cooking, choose chicken breasts of similar size or gently pound thicker pieces to an even thickness.
Make the cornstarch slurry with cold water and add it gradually while stirring to avoid lumps when thickening the sauce.
If the sauce is too sweet, balance with a teaspoon of rice vinegar or lime juice to brighten the flavor.
If serving later, undercook the sauce slightly and finish thickening just before serving to preserve texture.
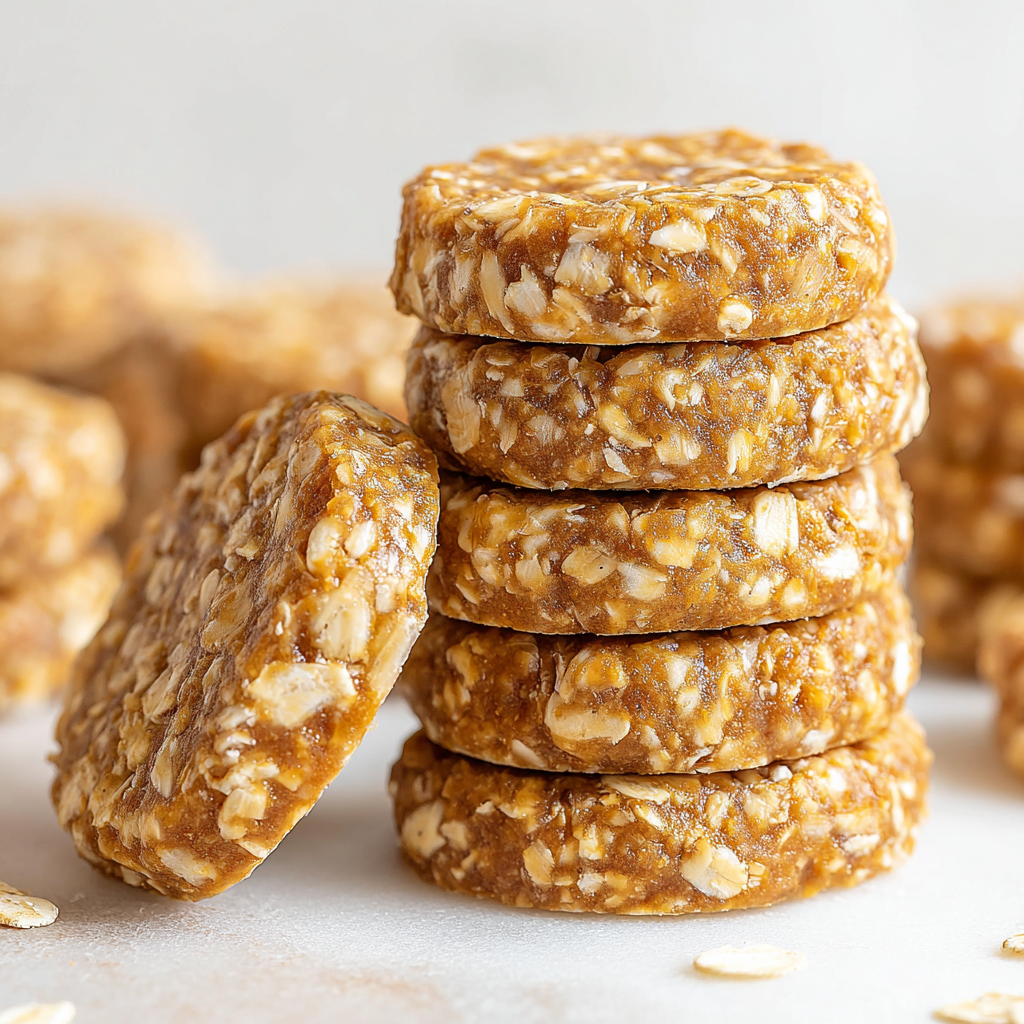
This nourishing honey garlic instant pot chicken breasts recipe is sure to be a staple in your kitchen. Enjoy every moist, high protein slice — it is perfect for breakfast or as a wholesome snack any time.
Yes. For frozen breasts, add about 3 minutes to the listed cooking times and perform a 10 minute natural release to avoid toughness.
Leftovers keep in the refrigerator for 3 to 4 days or can be frozen for up to 3 months in an airtight container.
This Honey Garlic Instant Pot Chicken Breasts recipe makes perfectly juicy, tender, and flavorful steak every time! Serve with potatoes and a side salad for an unforgettable dinner in under 30 minutes.
Whisk together water or broth, soy sauce, honey, minced garlic, and black pepper in the Instant Pot insert until honey dissolves.
Place the chicken breasts in a single layer into the sauce. Ensure pieces are relatively uniform in thickness for even cooking.
Seal the lid and set valve to sealing. Pressure cook on High for 8 to 11 minutes depending on breast size (add 3 minutes if frozen). Allow the pot to come to pressure which will take about 10 minutes.
Quick release when cooking fresh breasts, or natural release 10 minutes for frozen. Check internal temp; it should be at least 165°F. If needed, finish on Sauté.
Remove chicken. Stir together cornstarch and water, set pot to Sauté, whisk in slurry and cook until sauce thickens about 2 to 3 minutes. Turn off Instant Pot and remove inner pot to stop cooking.
Slice chicken against the grain, return to the sauce or spoon the sauce over top. Serve with rice, quinoa, and vegetables as desired.
Last Step: Please leave a rating and comment letting us know how you liked this recipe! This helps our business to thrive and continue providing free, high-quality recipes for you.
Leave a comment & rating below or tag
@feastara on social media!
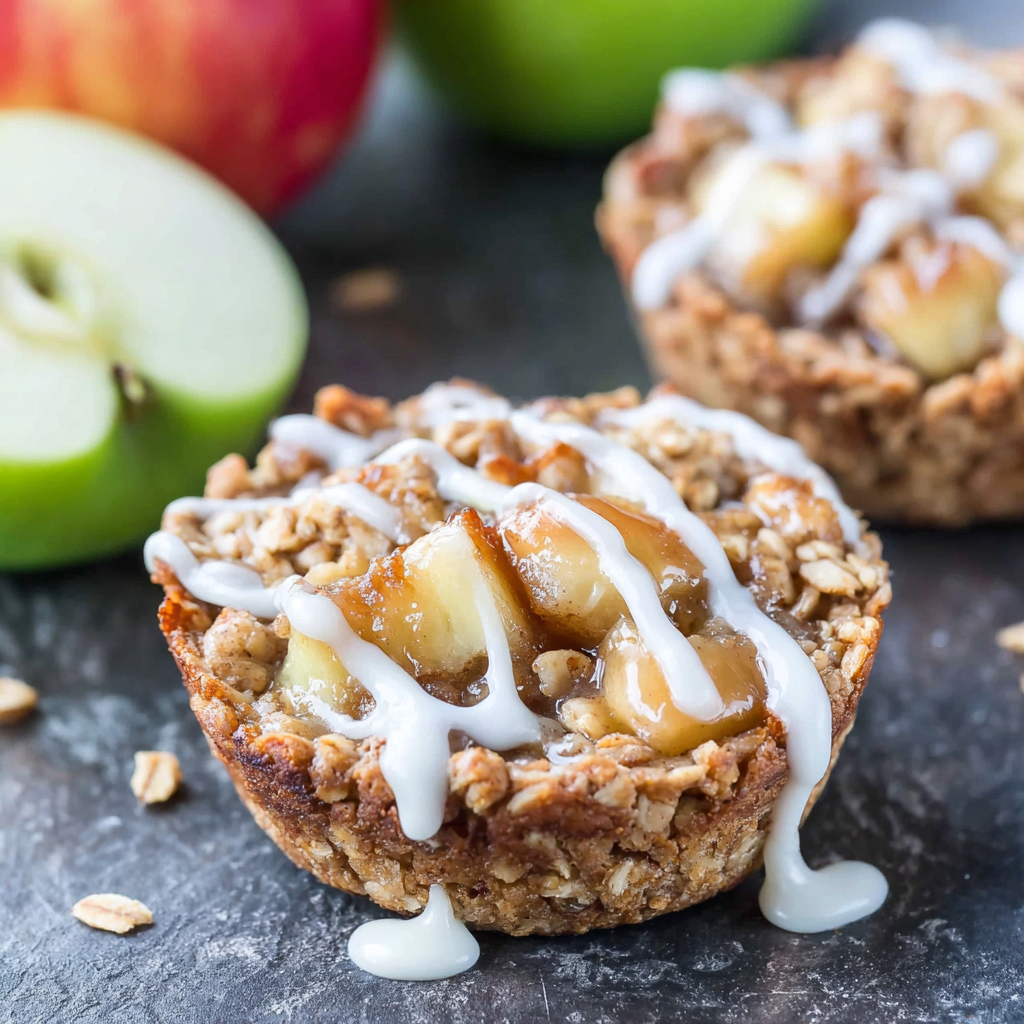
Buttery oatmeal cookie cups filled with warm, cinnamon-spiced apple pie filling and a sweet glaze for cozy, handheld comfort.
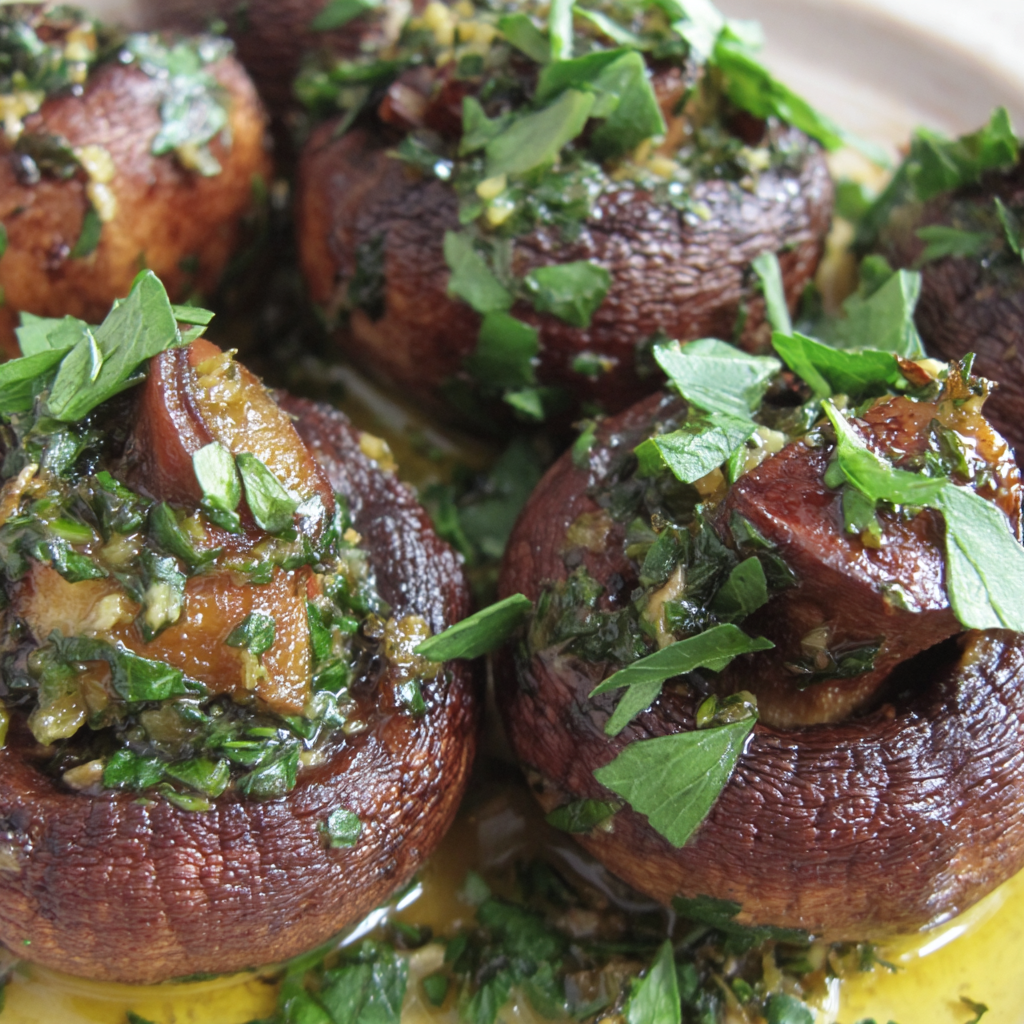
Tender mushroom caps filled with garlicky Provençal herbs, bright lemon, and olive oil. A cozy, elegant AIP-friendly appetizer ready in under an hour.
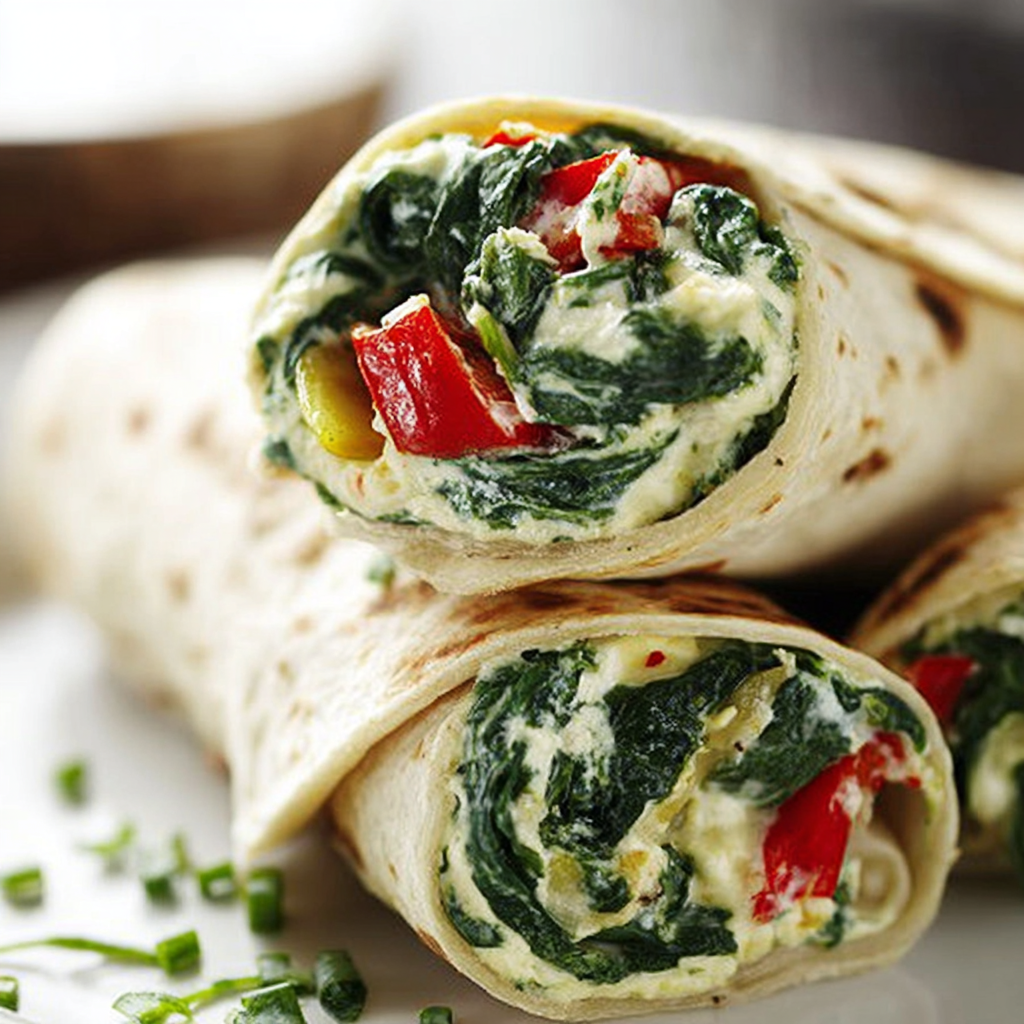
Creamy spinach, peppers, and tangy feta tucked in warm tortillas, baked golden for an easy make-ahead lunch or freezer-friendly snack.
Leave a comment & rating below or tag @feastara on social media!
Enjoyed this recipe? Share it with friends and family, and don't forget to leave a review!
This recipe looks amazing! Can't wait to try it.
Comments are stored locally in your browser. Server comments are displayed alongside your local comments.

Join to receive our email series which contains a round-up of some of our quick and easy family favorite recipes.