>>

A beloved low-carb pizza with a crispy, chewy crust — two flour options (almond or coconut) and foolproof tips for perfect texture every time.
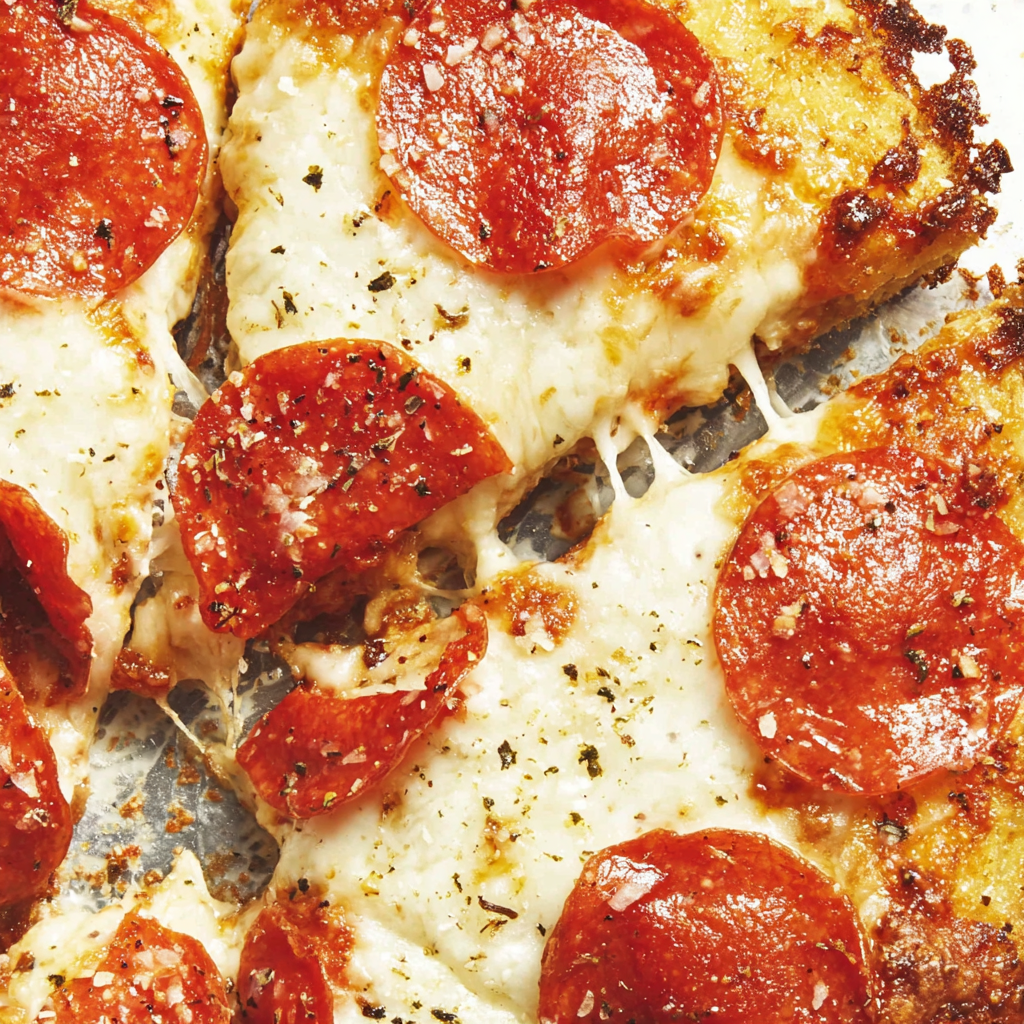
This keto pizza has been my go-to answer when I crave a slice that tastes like the real thing without the carbs. I first perfected this version during a week when my family was cutting back on carbs but refused to give up Friday pizza night. The result was a crust that browns nicely, pulls apart with a satisfying chew, and holds toppings without turning soggy — a rare combination in low-carb baking. The first time I slid a slice onto a plate, my partner looked surprised and asked, “Did you order delivery?” The praise continued as everyone reached for seconds.
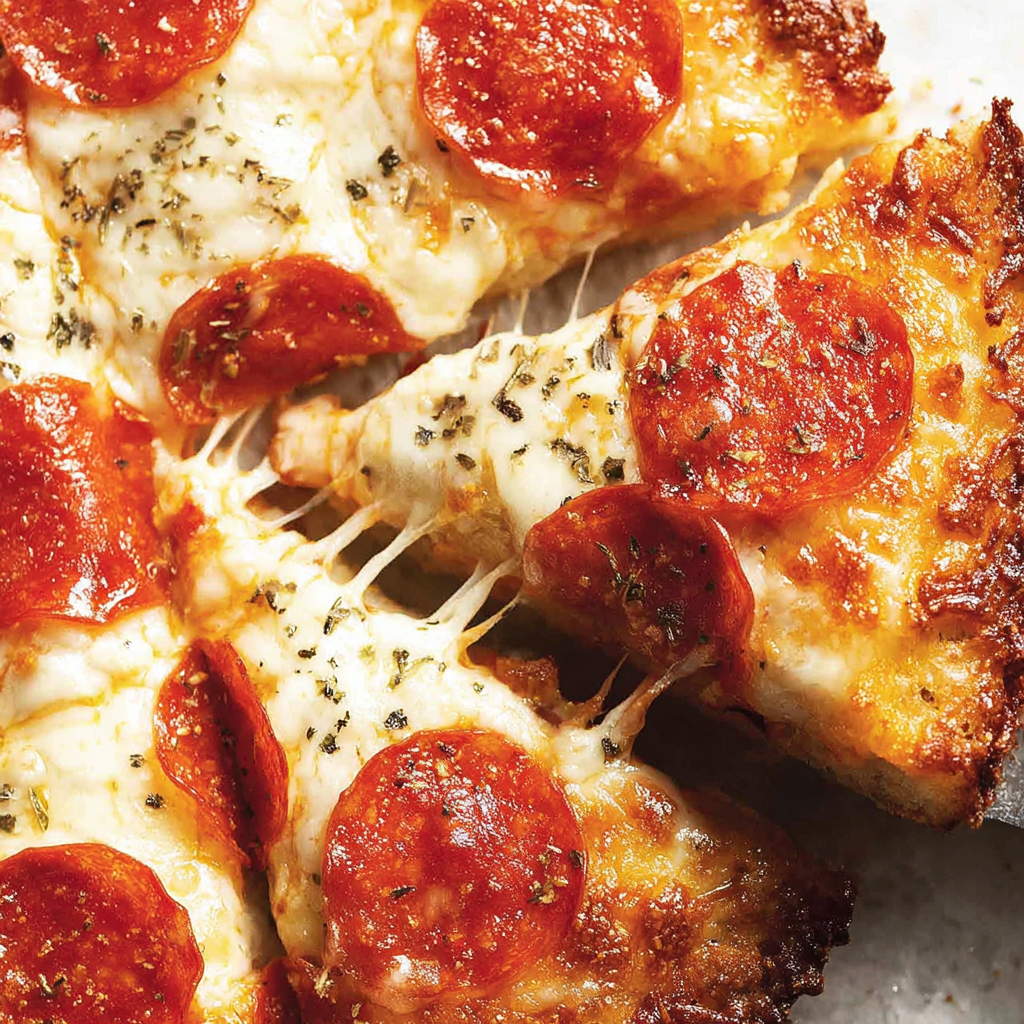
What makes this approach special is the balance between crisp edges and a tender, chewy interior. The melted mozzarella and cream cheese form a flexible matrix that mimics gluten when combined with either blanched almond flour or coconut flour. I keep both versions in regular rotation: the almond flour version is slightly richer and more forgiving, while the coconut version is lighter and a touch drier, so it crisps faster. Both deliver a pizza experience that satisfies cravings and keeps net carbs low — perfect for busy weeknights or a weekend treat.
In my house this pie quickly became the official treat of celebration evenings. I remember bringing a freshly baked version to a friend’s potluck; it disappeared so fast that people started asking for the recipe on the spot. I love that it satisfies the pizza ritual — the stretch of hot cheese, the crisp crust edge, the aroma of oregano — without the carb hangover.
My favorite thing about this approach is its reliability: once you learn how the dough should feel — pliable but not overly greasy — you’ll hit a perfect crust every time. Friends who tried this after I showed them said it flipped their view of low-carb baking; they appreciate how topping combinations can be nearly identical to traditional pizza without the carbs.
To store, cool the pizza completely before refrigerating in an airtight container for up to 4 days. For longer storage, par-bake crusts, cool, wrap tightly in plastic and foil, and freeze for up to 3 months. Reheat refrigerated slices at 375°F on a rack or in a skillet to revive crispness; frozen crusts reheat from frozen at 400°F for 8–10 minutes before adding toppings. Avoid microwaving for best texture; microwaves soften the crust and make it rubbery.
If you can’t use dairy, a dairy-free mozzarella alternative won’t behave the same because the melted cheese is structural. For nut-free needs, use the coconut flour version exclusively. If you’re experimenting, try swapping part of the almond flour with a neutral seed flour (like sunflower seed flour) but be aware of color change and slight bitterness unless you blanch or soak first. For higher protein, add 1–2 tablespoons of finely grated Parmesan into the dough — it deepens flavor and helps crisp the crust.
Serve slices with a crisp green salad dressed in lemon vinaigrette, or offer roasted vegetables for color and texture contrast. For a brunch twist, top with a light ricotta, lemon zest, and arugula after baking. Garnish with fresh basil leaves and a drizzle of extra-virgin olive oil to elevate the flavors. For parties, make mini personal pizzas on half-sheet pans for easy sharing.
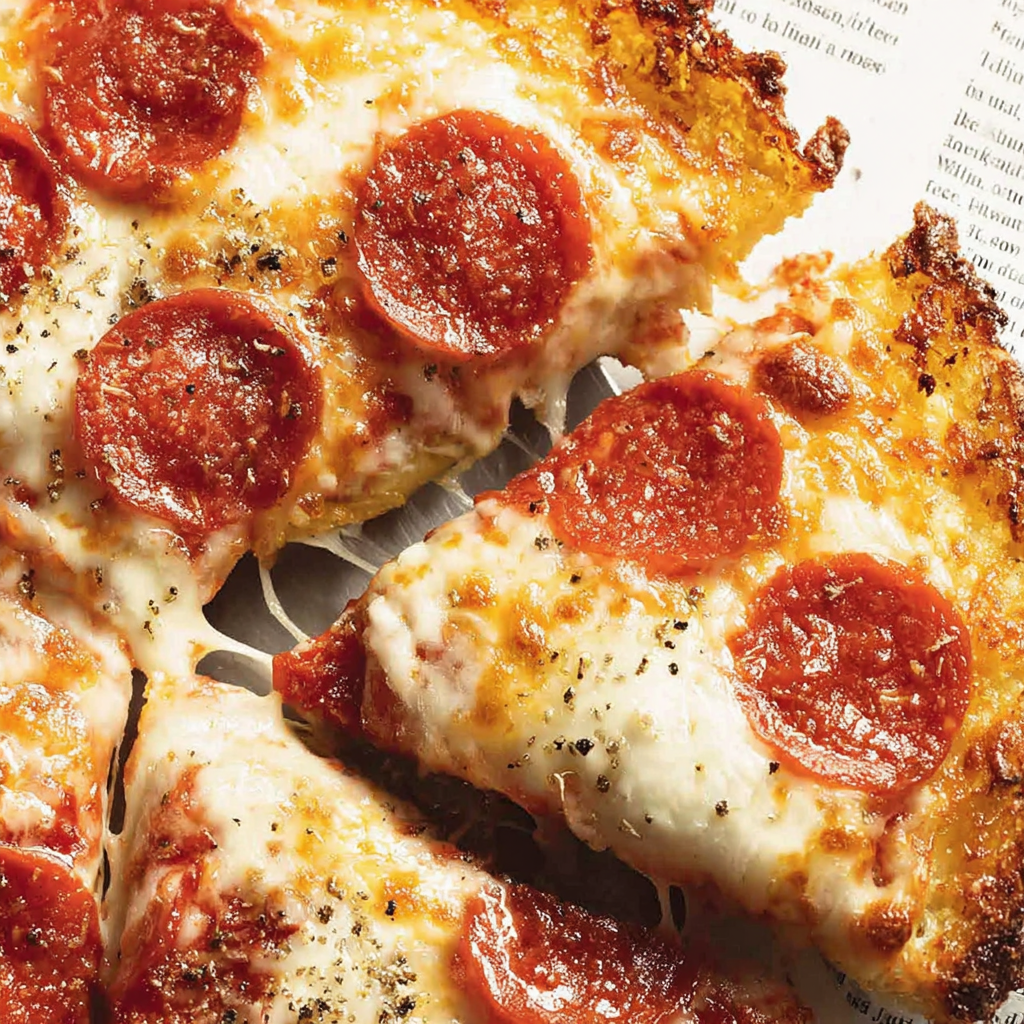
This style is inspired by the Italian-American pizza tradition but reimagined with low-carb ingredients. The technique borrows from the “fathead” method, which uses melted cheese as a gluten-free binder to mimic the elasticity normally provided by wheat. It’s a modern adaptation born from the intersection of low-carb innovation and the universal love of pizza, and it’s become a staple in many low-carb kitchens globally.
In summer, top with fresh heirloom tomatoes, basil, and burrata after baking for a bright finish. In fall and winter, swap toppings to roasted butternut squash, sage, and browned sausage for a cozy, seasonal pie. For holidays, try a white pizza with garlic oil, spinach, and roasted mushrooms for an elegant centerpiece that still keeps carbs low.
Par-bake multiple crusts and freeze them individually on parchment; when ready to eat, add toppings and bake from frozen for 12–15 minutes. Portion slices into microwave-safe containers for quick lunches and reheat in a toaster oven or skillet to retain crispiness. Label frozen crusts with date and flour type for easy rotation.
Every time you make this, jot down slight tweaks that improved your crust — oven hot spots, how long you left it under the broiler, or which toppings caused sogginess. Those notes turn experimentation into reliable success. Share a slice with someone and watch them become believers — that, for me, is the joy of this recipe.
If the dough is sticky, refrigerate for 5–10 minutes to firm up before shaping.
Preheat a pizza stone or inverted baking sheet to ensure a crisp bottom.
Use a food processor for the almond version to get a fluffier, more uniform crumb.
Poke the dough all over before baking to prevent large bubbles and uneven rising.
For a chewier crust, shape slightly thicker (about 1/3") and bake until edges are golden.
This nourishing keto pizza with crispy, chewy crust (fathead style) recipe is sure to be a staple in your kitchen. Enjoy every moist, high protein slice — it is perfect for breakfast or as a wholesome snack any time.
Yes — both almond and coconut flour versions are gluten-free. Use a certified gluten-free almond flour if cross-contamination is a concern.
Reheat slices in a skillet over medium heat or in a 375°F oven for best texture. Avoid microwaving if you want crisp edges.
This Keto Pizza with Crispy, Chewy Crust (Fathead Style) recipe makes perfectly juicy, tender, and flavorful steak every time! Serve with potatoes and a side salad for an unforgettable dinner in under 30 minutes.
Preheat oven to 425°F (218°C) and place a pizza stone inside if using. Line a baking sheet or pizza peel with parchment paper for shaping the dough.
In a large bowl or food processor, whisk together the egg(s) and your chosen flour (almond or coconut) until evenly combined.
Combine shredded mozzarella and cubed cream cheese in a microwave-safe bowl and heat for 90 seconds, stirring halfway, until smooth. Alternatively, melt in a double boiler.
Add melted cheese to the flour mixture and process or knead until a uniform dough forms. If sticky, refrigerate briefly or dust lightly with flour.
Spread dough on parchment to 1/4"–1/3" thickness using wet hands or a rolling pin. Dock the surface with a fork to prevent bubbles.
Bake the crust for 6 minutes, poke any bubbles, then bake 3–7 more minutes until lightly golden but not too dark.
Add sauce and toppings, return to the oven on the stone or rack for about 10 minutes until hot, then broil 1–2 minutes if desired for browning.
Allow the pizza to rest 2–3 minutes before slicing to let the crust set and make clean slices.
Last Step: Please leave a rating and comment letting us know how you liked this recipe! This helps our business to thrive and continue providing free, high-quality recipes for you.
Leave a comment & rating below or tag
@feastara on social media!
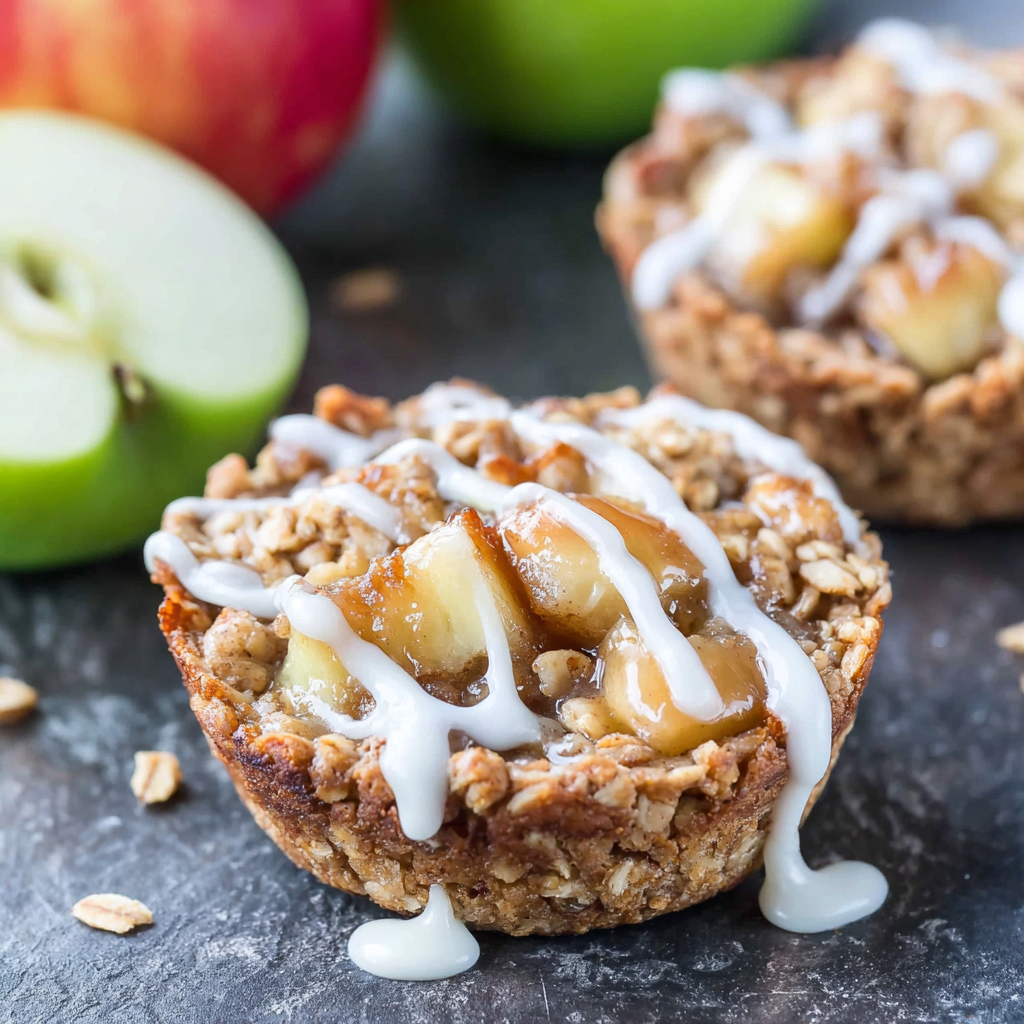
Buttery oatmeal cookie cups filled with warm, cinnamon-spiced apple pie filling and a sweet glaze for cozy, handheld comfort.
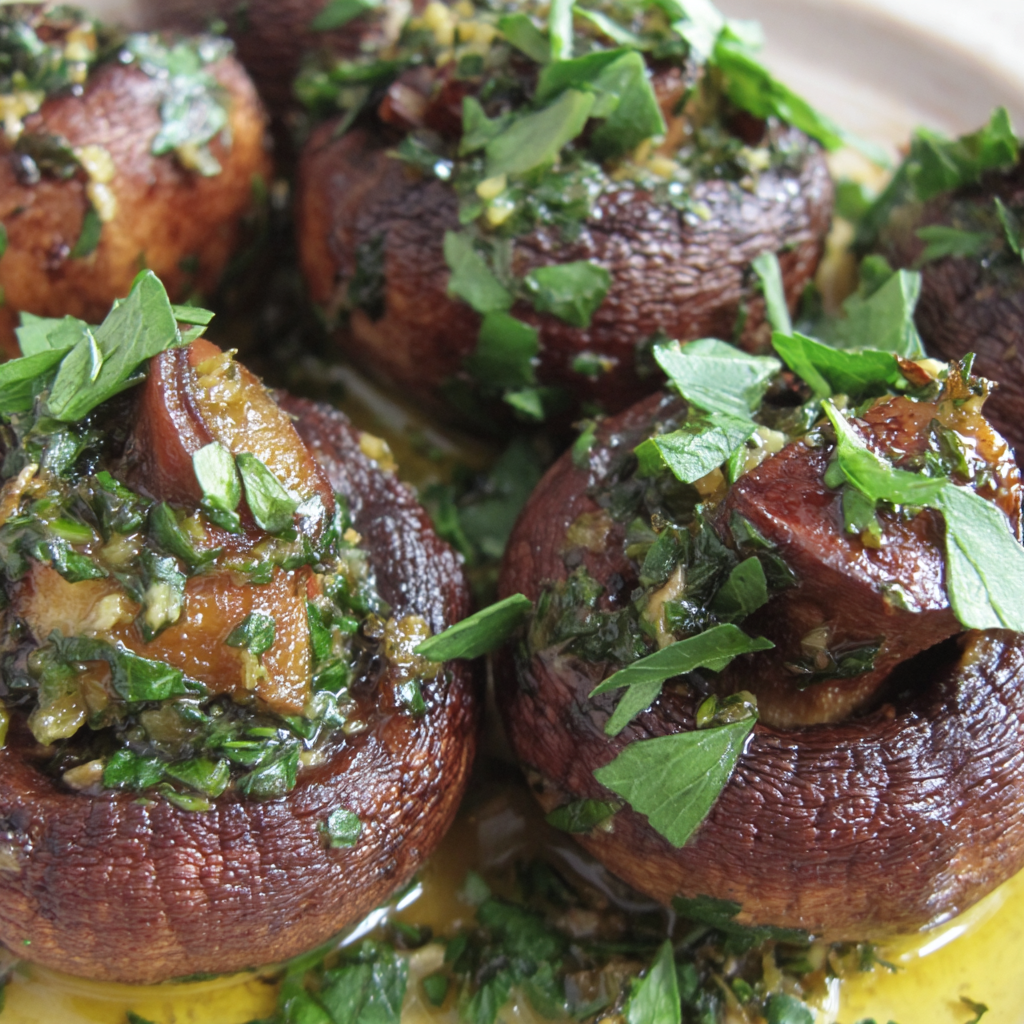
Tender mushroom caps filled with garlicky Provençal herbs, bright lemon, and olive oil. A cozy, elegant AIP-friendly appetizer ready in under an hour.
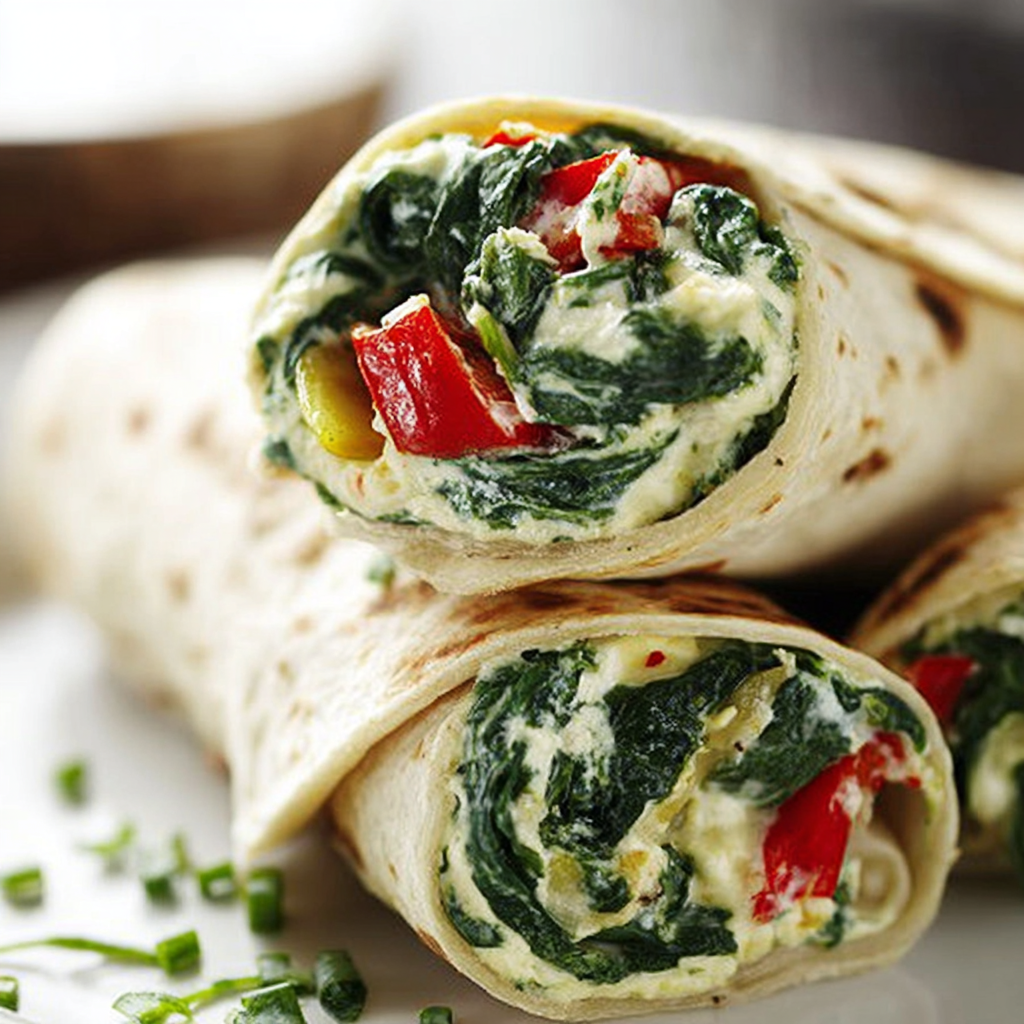
Creamy spinach, peppers, and tangy feta tucked in warm tortillas, baked golden for an easy make-ahead lunch or freezer-friendly snack.
Leave a comment & rating below or tag @feastara on social media!
Enjoyed this recipe? Share it with friends and family, and don't forget to leave a review!
This recipe looks amazing! Can't wait to try it.
Comments are stored locally in your browser. Server comments are displayed alongside your local comments.

Join to receive our email series which contains a round-up of some of our quick and easy family favorite recipes.